


Mini Christmas Stocking Tutorial
The Fabric Fox on 4th Nov 2017
With Christmas creeping up on us I have started thinking about what gifts to make for my friends and family, and I came up with this mini Christmas stocking. It's great as a little present that you can fill with sweets and chocolates or other mini gifts they might like. It's a really simple make and a great gift for those who are hard to shop for.
Here is how you can make your own mini Christmas stocking.

Fabrics used:
Christmas Icons Rose & Stars Neon from the Magical Christmas collection by Rico Design
You will need:
Paper (for the stocking template)
2 fat quarters of fabric
Sewing machine
Pencil
Scissors
Pins
Sellotape
Instructions:
1. Print out our free mini stocking template and cut the pieces out. We have designed the template to easily fit on a single piece of A4 paper. As shown in the photo, attach the rectangular cuff piece to the top of the stocking piece to create the perfect shape.

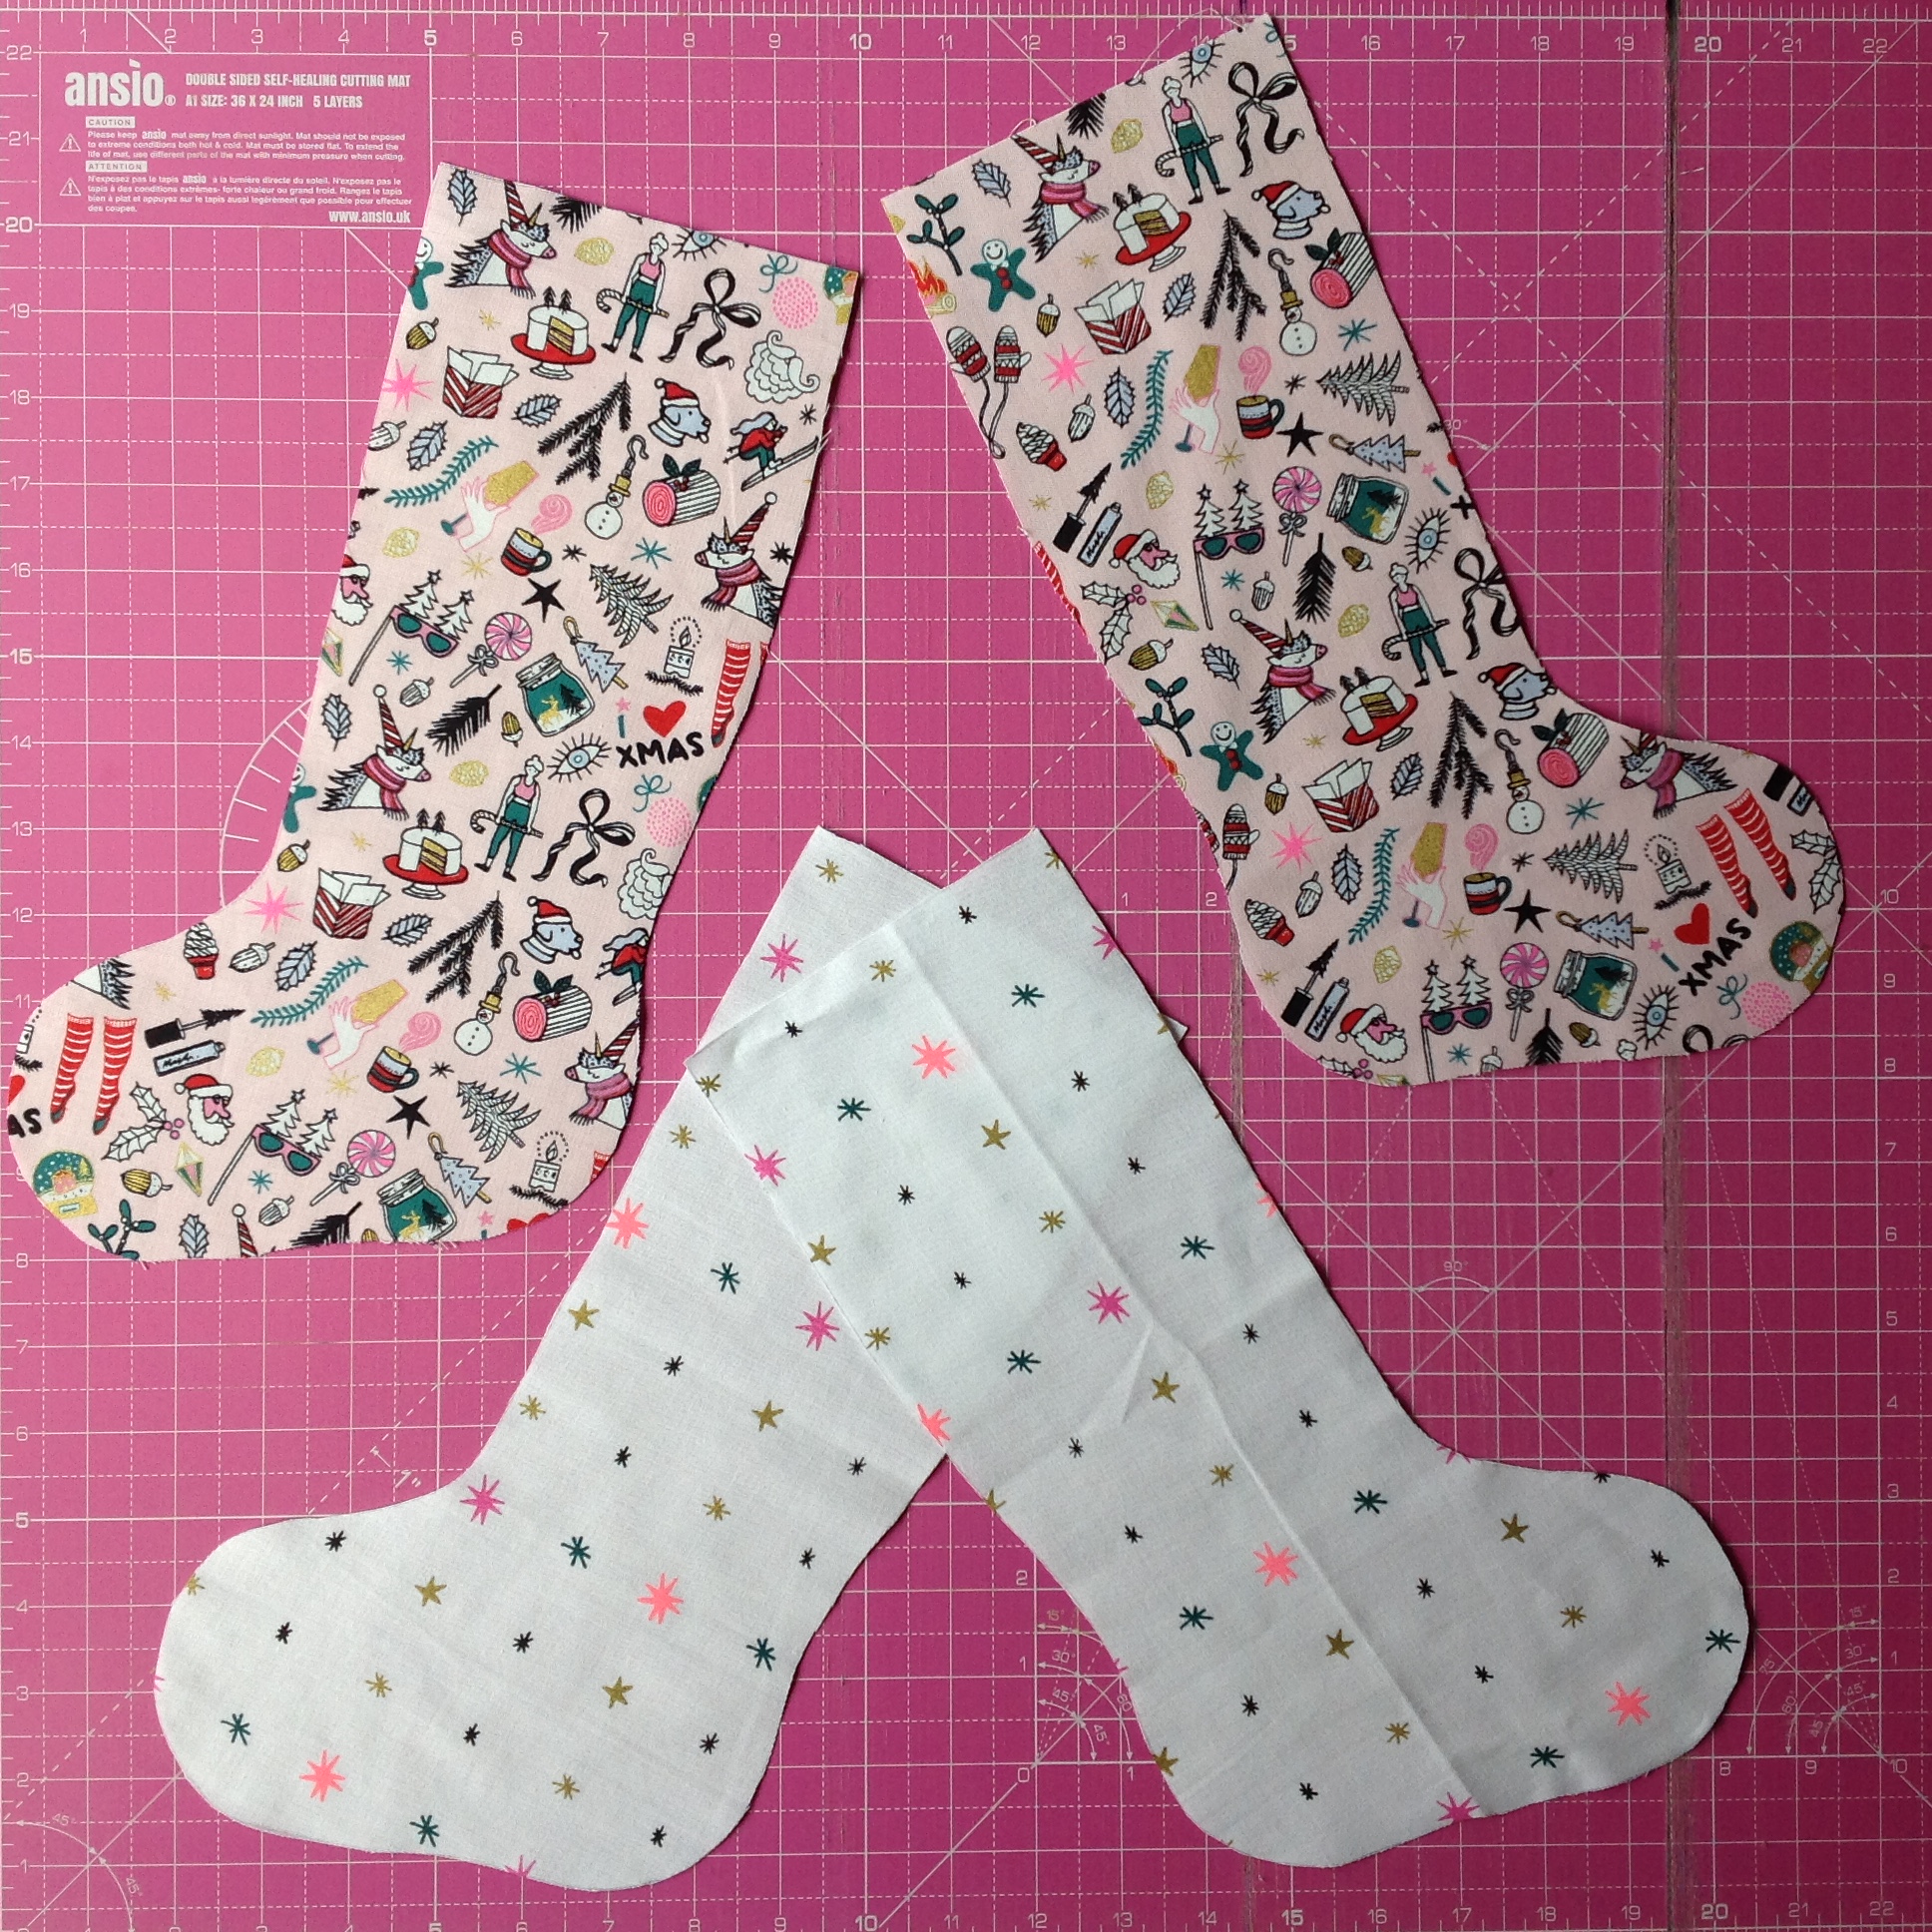
2. Using the template cut out one stocking from your outside fabric and one from your lining fabric.
3. Flip the template over and repeat step 2. You will now have a left-shaped stocking and a right-shaped stocking from each fabric.
4. With right sides together, put one lining piece with one outside piece so that the toes are facing in the same direction. Pin these together. Do the same with the remaining two pieces.

5. Using a quarter inch/0.5cm seam allowance sew a straight stitch along the top of one of the stockings.
6. Repeat step 5 with the second stocking.

7. Once stitched, open out both pieces and press the seams open with an iron.

8. Put both stocking pieces right sides together, matching the outside fabric together and vice versa with the lining fabric.

9. Using a quarter inch/0.5cm seam allowance stitch all the way around your stocking. Leave a gap on the outside piece so that the stocking can be turned through. The gap needs to start just below the seam joining the lining fabric and the outside fabric, and can be no longer than 2 inches/5cm. That way, when the cuff is turned down, the gap will be hidden. If the gap is longer than the cuff then the cuff won't be able to cover it up once it's been turned down.

10. Turn the stocking through the gap so that the whole stocking is pulled out and laying flat. Press with an iron.

11. The gap now needs to be sewn up. You can hand sew or machine stitch this step it as it won't be visible. Make sure the seam allowance is turned in and stitch it closed, staying close to the edge.

12. Tuck the lining inside the stocking.

13. Turn the cuff down.

Congratulations! Your mini Christmas stocking is finished! If you wanted to hang up your mini stocking simply sew a loop of ribbon into the top.
