
Posted by Kate Buxton on 12th Feb 2018
Easy Peasy Chevron Quilt by Kate Buxton
The Fabric Fox Creatives is our way of collaborating and sharing the work of talented, crafty writers. Every few weeks we will share a guest blog from someone who has made something using our range of fabrics. Kate Buxton has made this awesome (and huge) chevron quilt for her son. Here's how she made it!

I love having a go at anything crafty, so when Harry asked me to make him a patchwork quilt for Christmas, it was the perfect opportunity for me to dust off the sewing machine to make a useful gift that has both purpose and meaning.
I have made a few patchwork quilts over the years but all were pretty basic and usually your normally all squares the same size style. I decided I wanted to have a little play about with pattern this time so started researching making the chevron pattern quilt.
With Charlie only a couple of weeks old, I was having to sew in small snippets of nap time so needed to make it as simple as possible. Here are some pictures and details of how I did it, so if you want to have a try yourself, it should be super easy!
Luckily when I started planning making this quilt I was approached by The Fabric Fox. They kindly gifted me 3 meters of fabric towards my quilt. I needed to buy a further 3 meters to make the quilt in the size I did (which was very large) as I wanted this quilt to last Harry for years to come and hopefully something he will want to keep for a very long time.
The Fabric Fox have a huge choice but I narrowed it down to some funky scandi style fabrics that hopefully won’t date and he won’t mind being in his room for years to come.
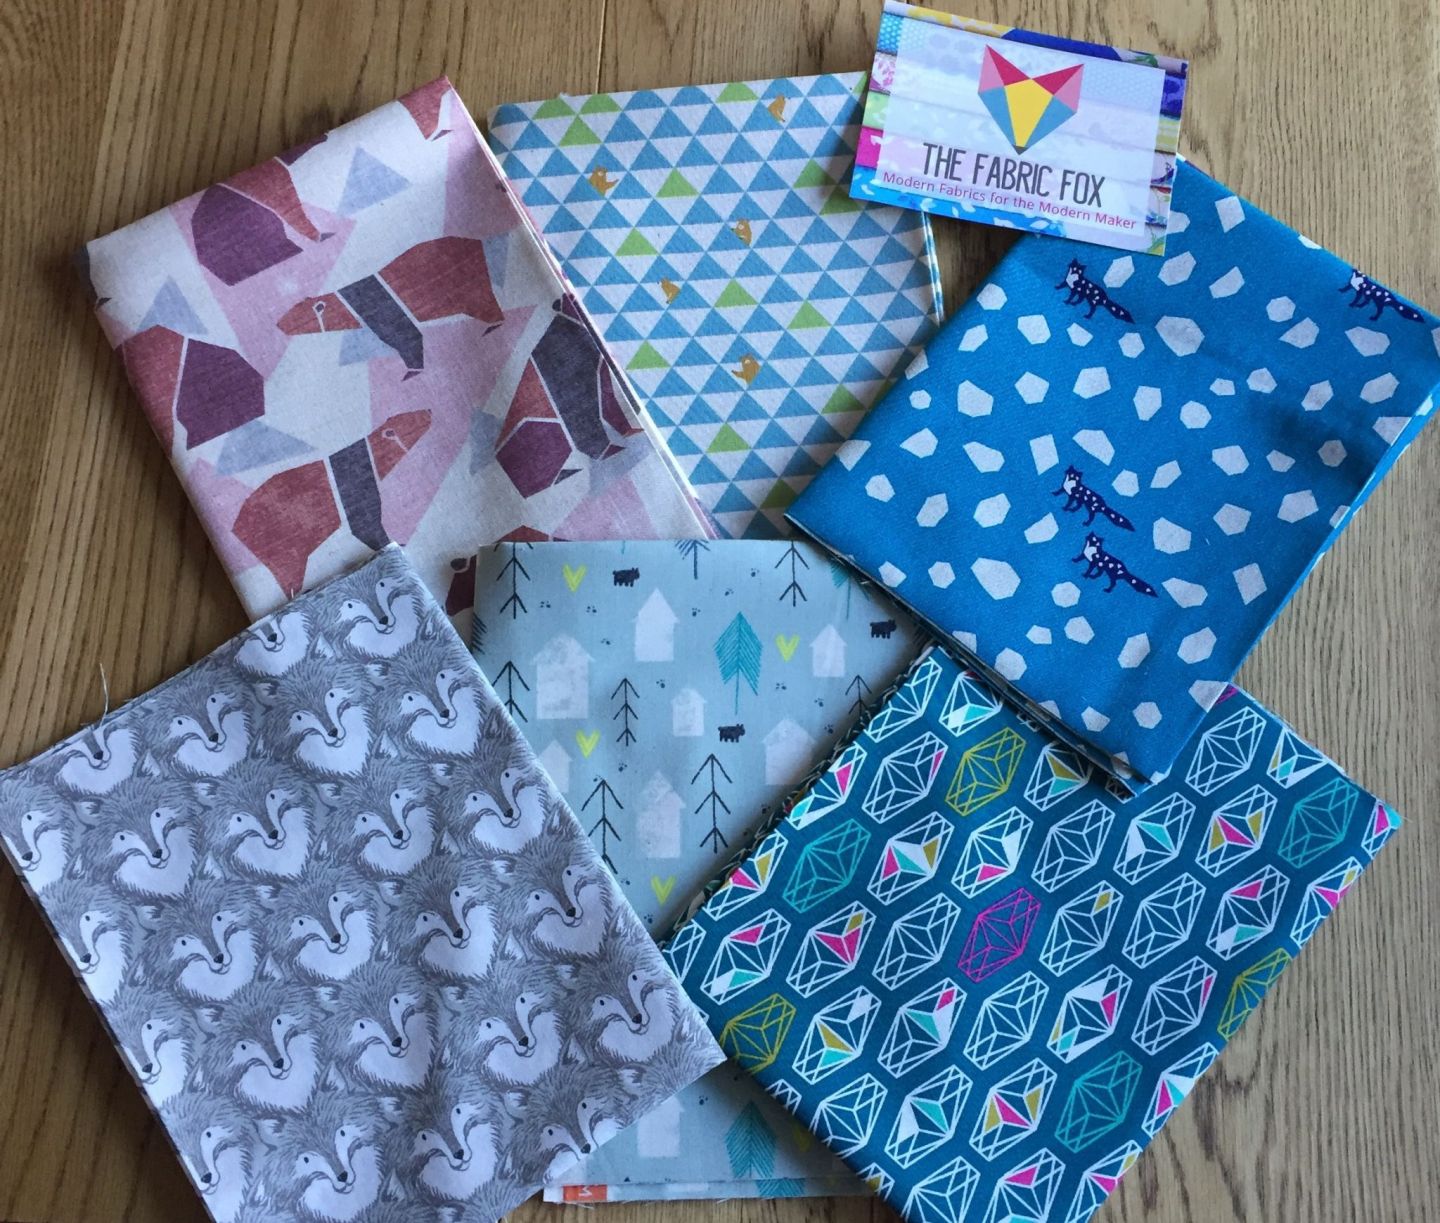
Here’s how we got on…
Firstly I cut all my fabric into 10 inch x 10 inch square pieces, and decided which order I wanted the fabric to be in rows next to each other (you could do this with just two different fabrics and alternate if wanting a simpler chevron design). If like me you are using different fabrics, place them in the order you want them.
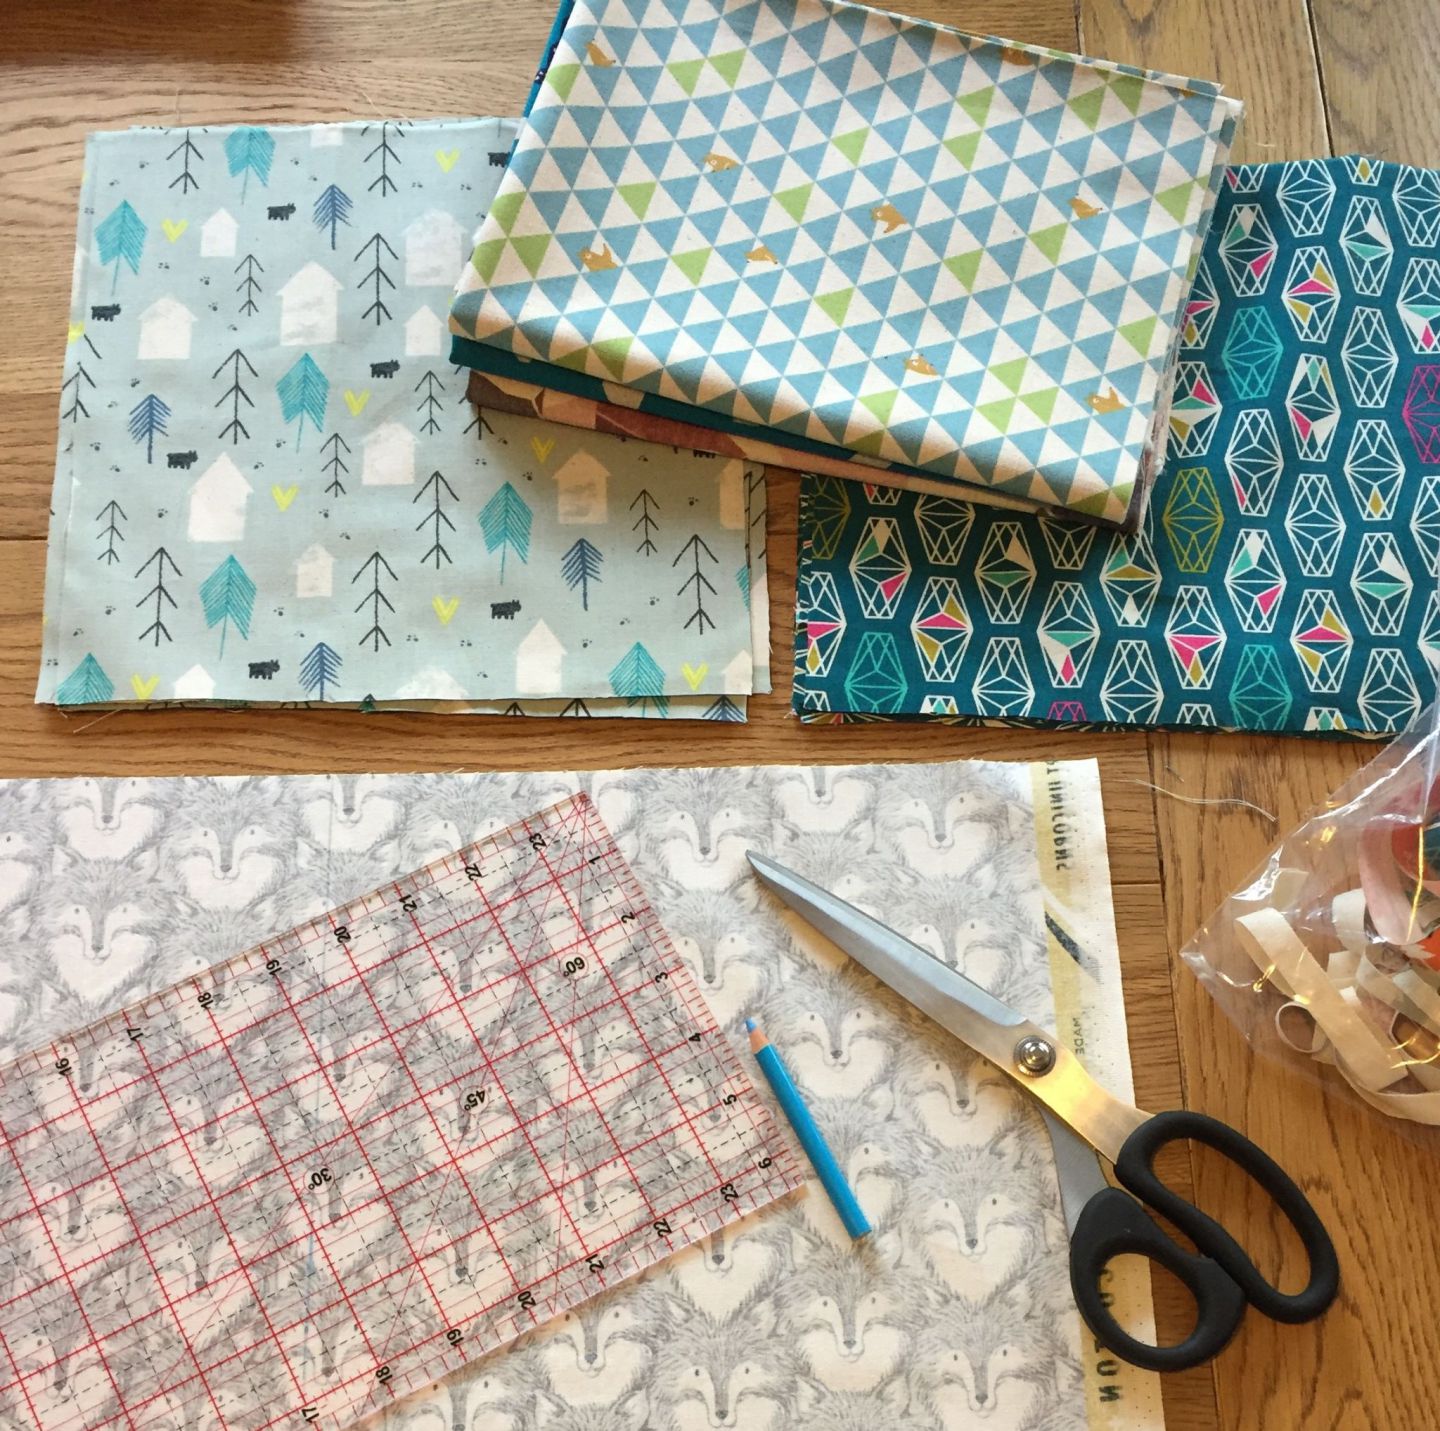
I ended up with 8 x 10 inch squares in each fabric design.

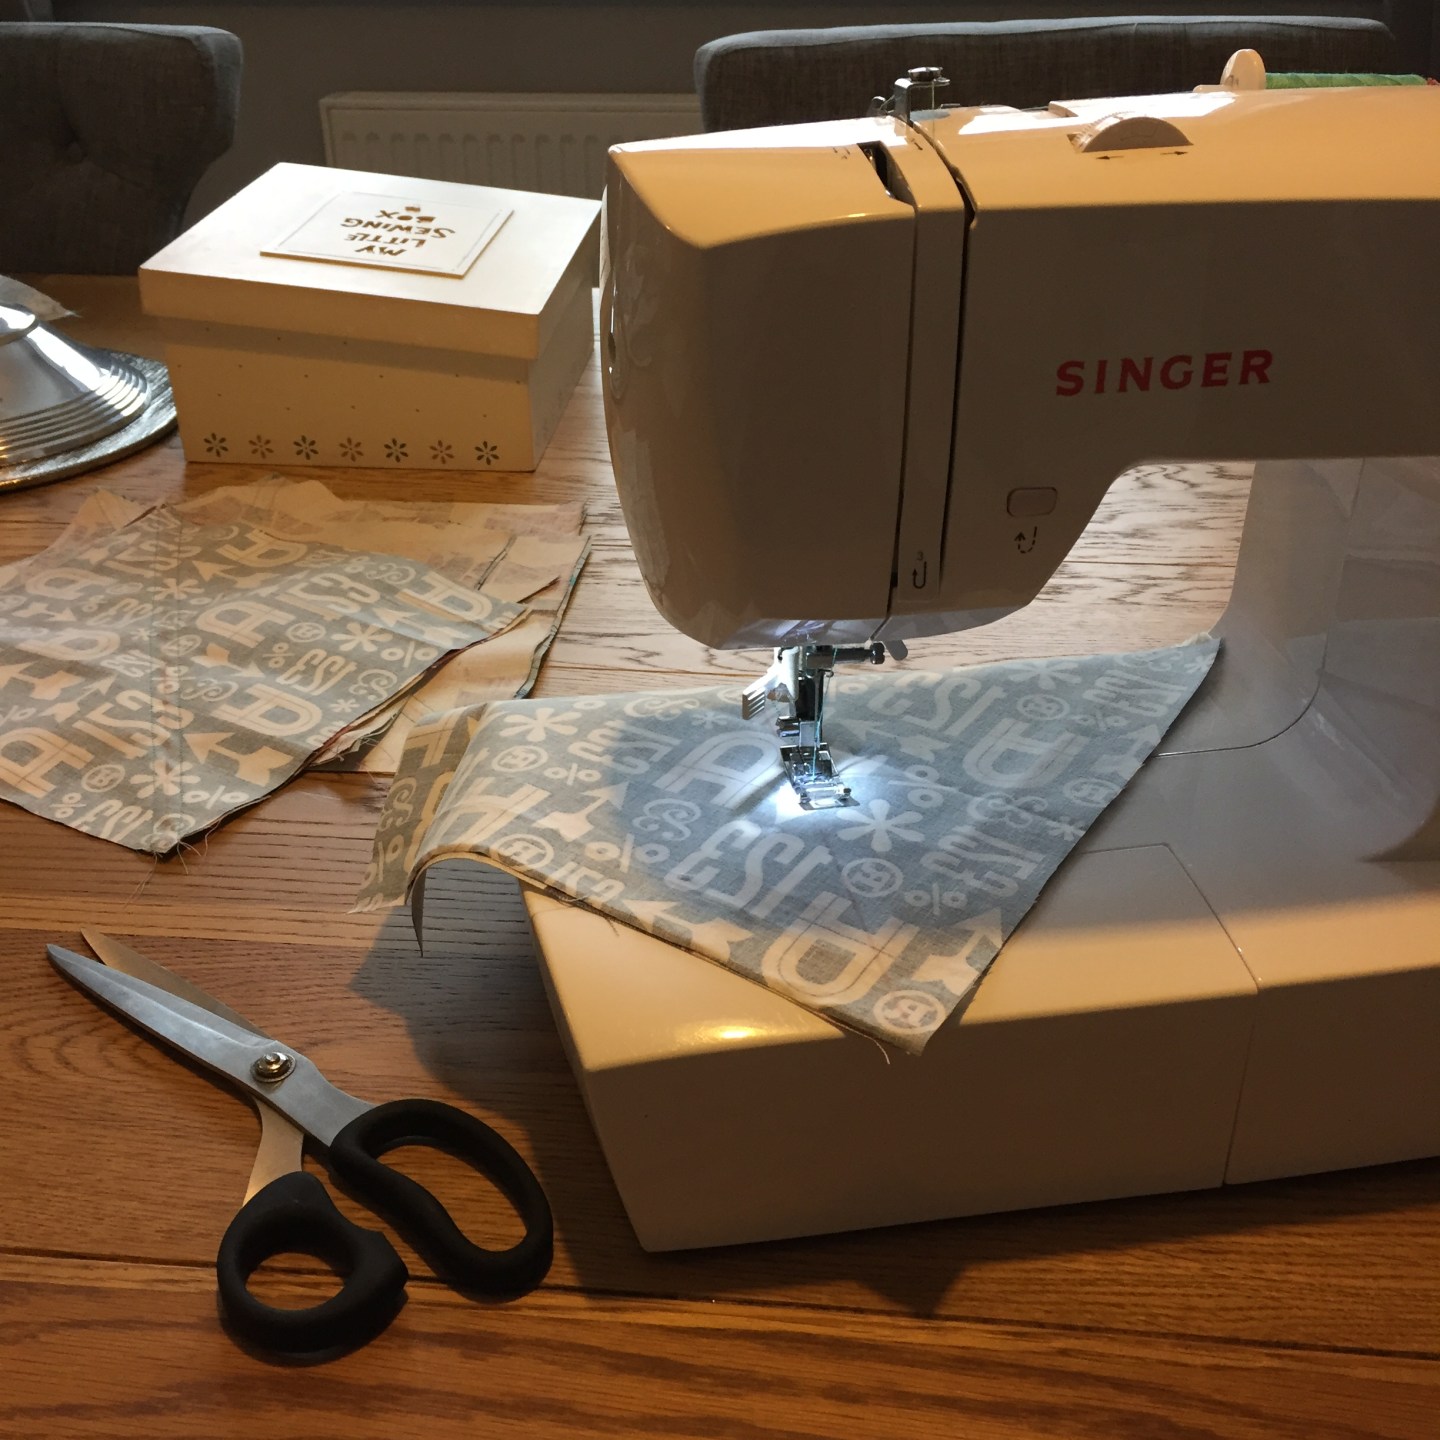
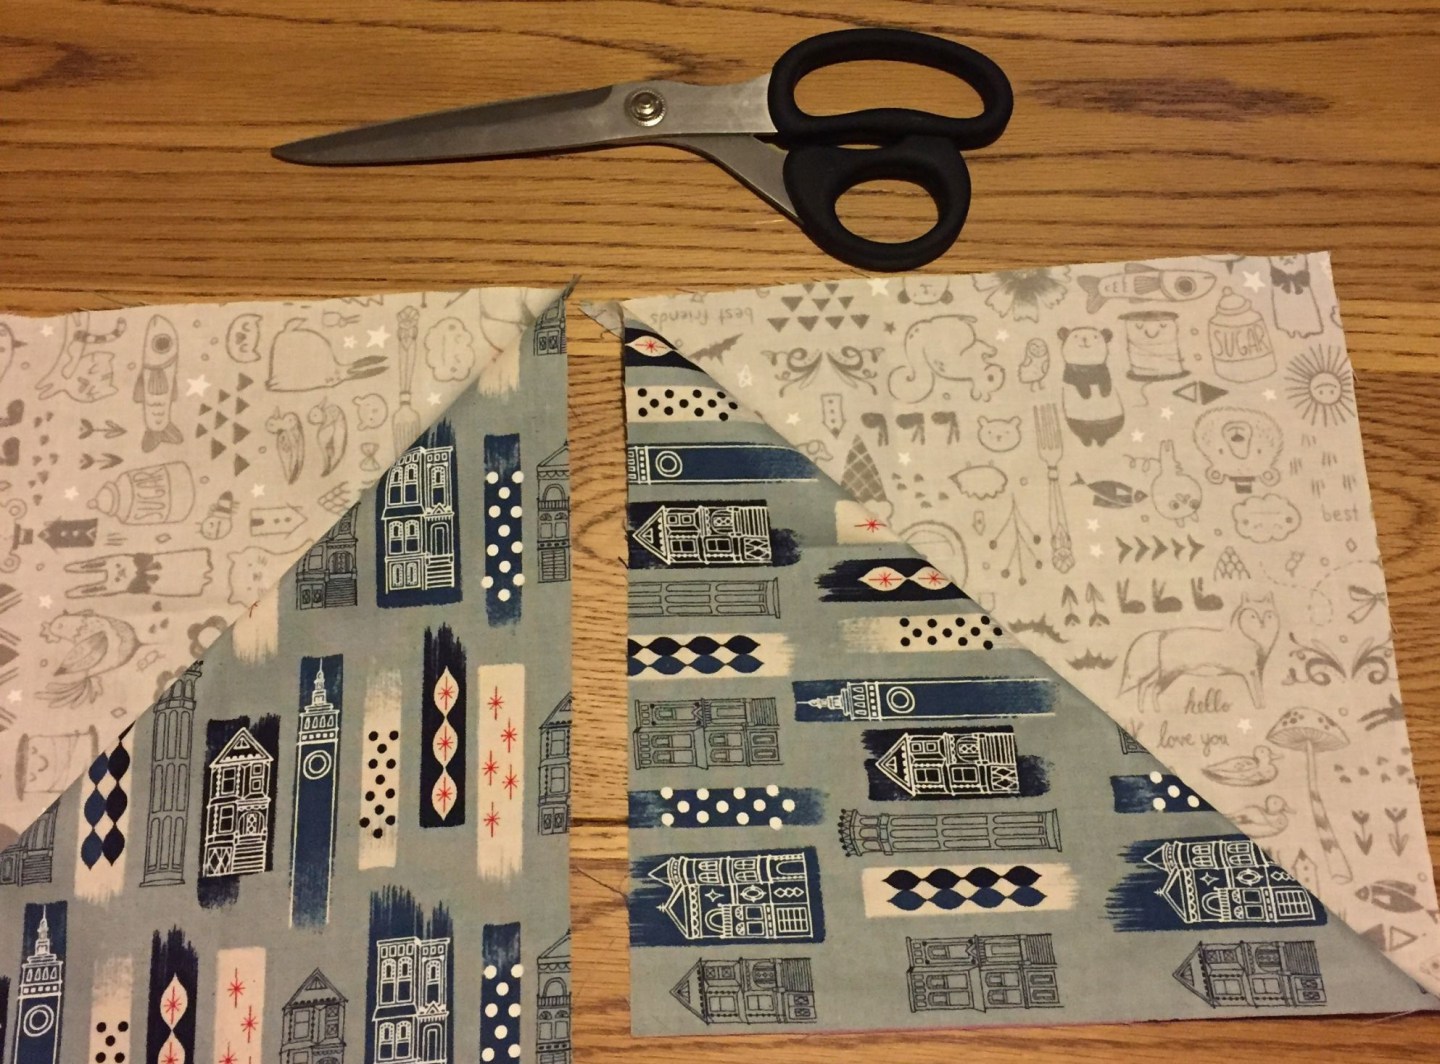
Taking 4 squares of the first row I began placing them together with the pattern facing inwards to 4 squares of the next row. You may find it easier to pin them too, to help keep them secure. Using a ruler draw a line on the diagonal.
Now sew ¼ of an inch either side of the line you have drawn.
Then cut along the diagonal line you have drawn.
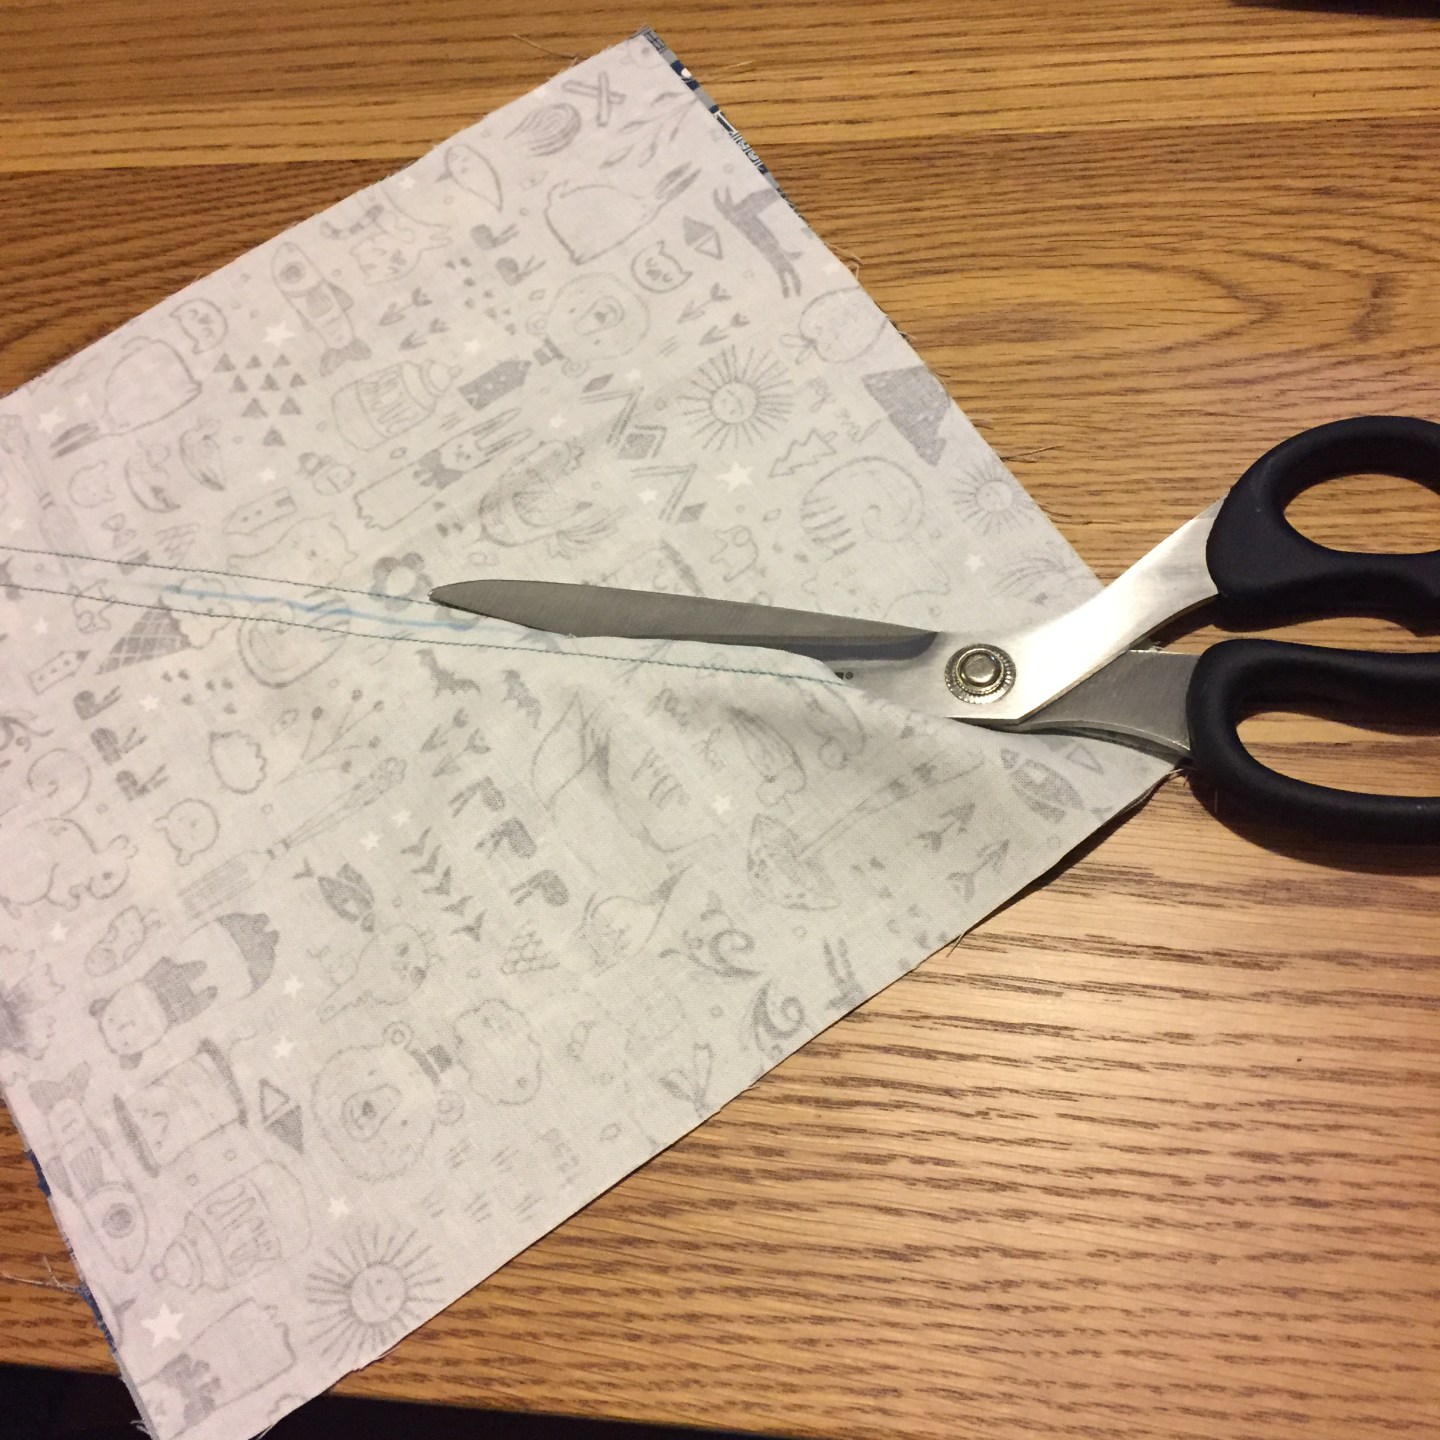
Repeat this step for the other 3 squares.
Now, grab the 4 x remaining squares from the second pile and 4 x squares from the third pile, and place/pin them right sides together. Draw a diagonal line and sew ¼ of an inch either side, and cut.

Repeat those steps for all your squares.
You should then be left with lots of little piles of half square triangles.
Arrange them on the floor or table (wherever you have space!) so that they make a zigzag pattern.
![]()
Pin the right sides together of the first row and sew a ¼ inch away from the border.
Continue the same with all the rows, so you end up with long rows of fabric. You can then begin to sew your rows together.
Then hey presto! You now have the top layer of your zigzag quilt!
![]()
Now all you need to do, is decide what you want the back of the quilt to look like, whether you back it in a plain fabric or do a patterned quilt design on each side.
To assemble your quilt:
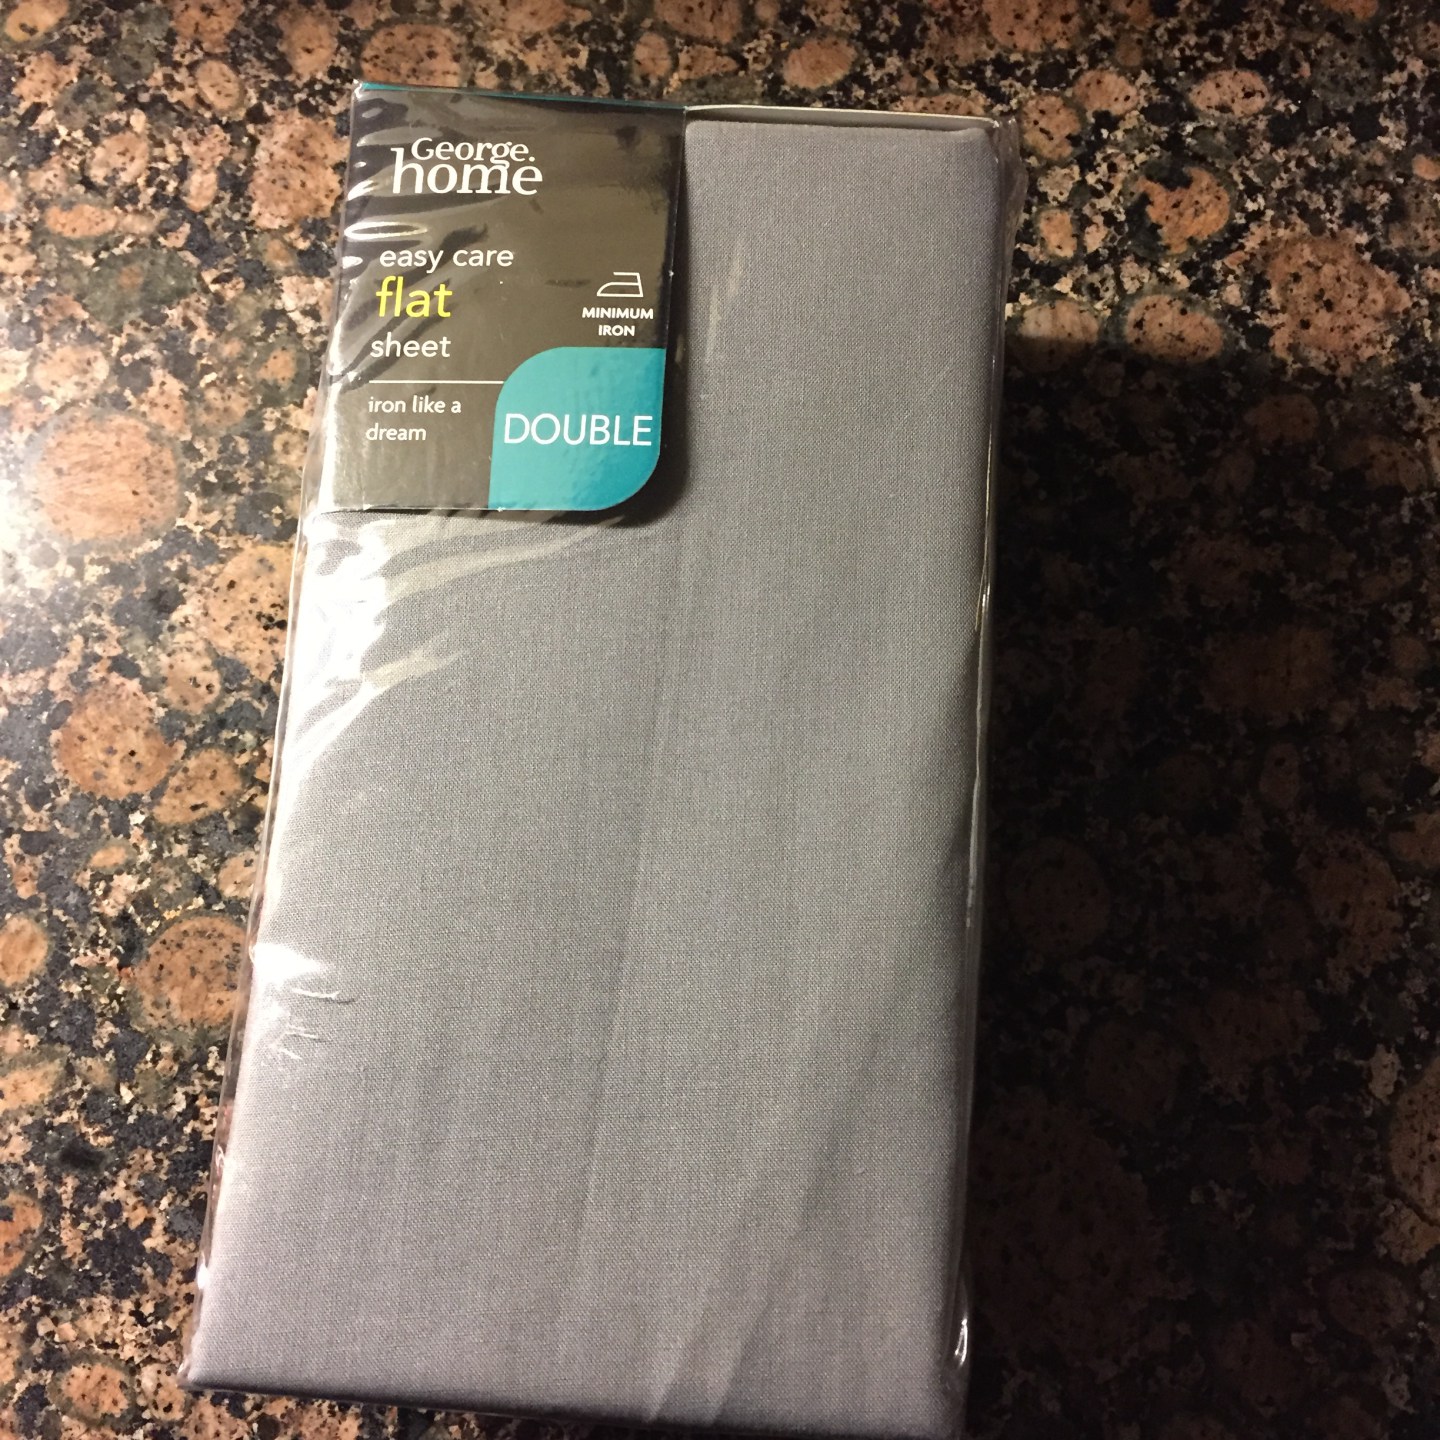
Sandwich together; the backing layer (wrong side up), batting - here I used a double size sheet from Asda as I didn’t want my quilt to be too thick as I had used heavier weight cotton on the quilt, and I wanted it to be more of a top of the bed bed spread.
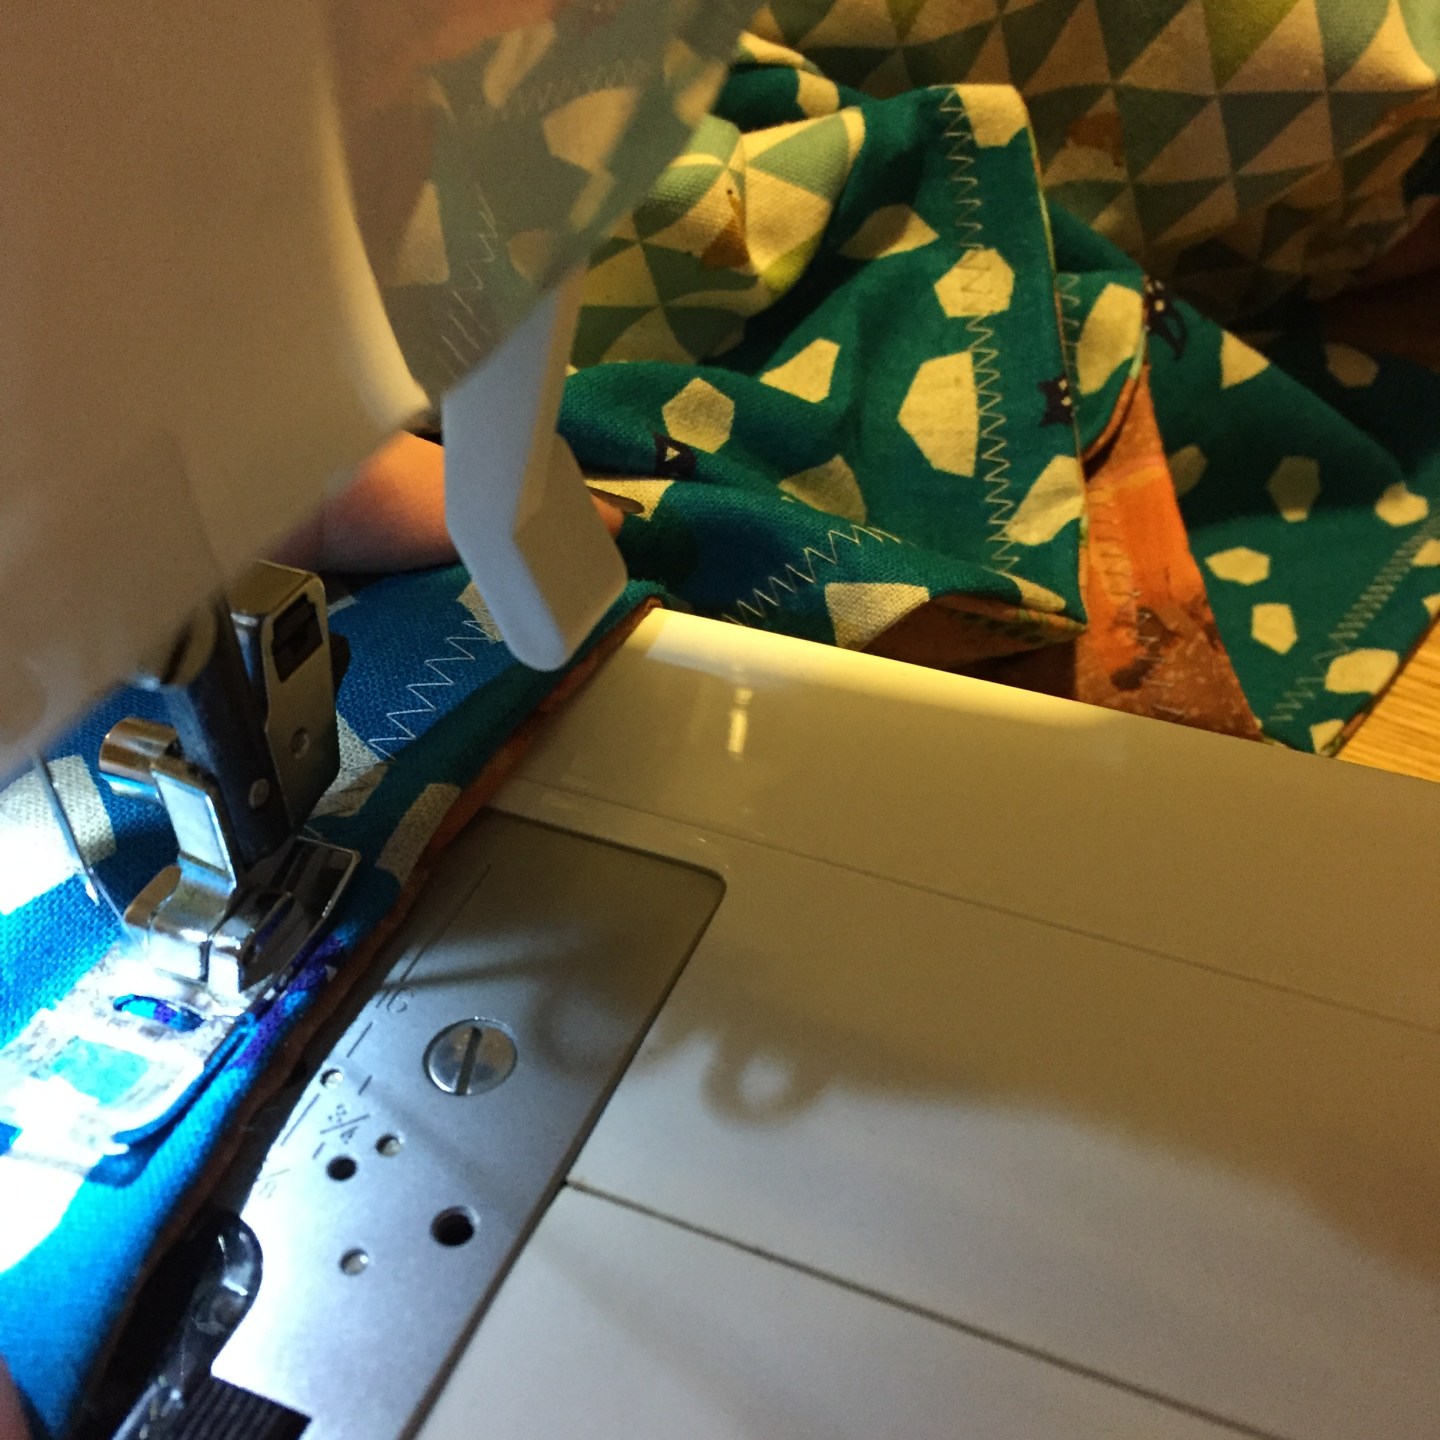
Then your top side of quilt the right side up. Pin it together, then sew together. Here you can then decide how you want to quilt it - in lines, zigzags, patterns or by hand. I used a mix of lines and zigzags and may still add some hand quilted bits and patches in the future.
Show your support and check out Kate Buxton's new lifestyle blog, Life With The Buxtons, and follow her on Instagram for photos of her family, Mack the Labrador and home projects she's been up to.
Here's a fun Q&A we did with her.